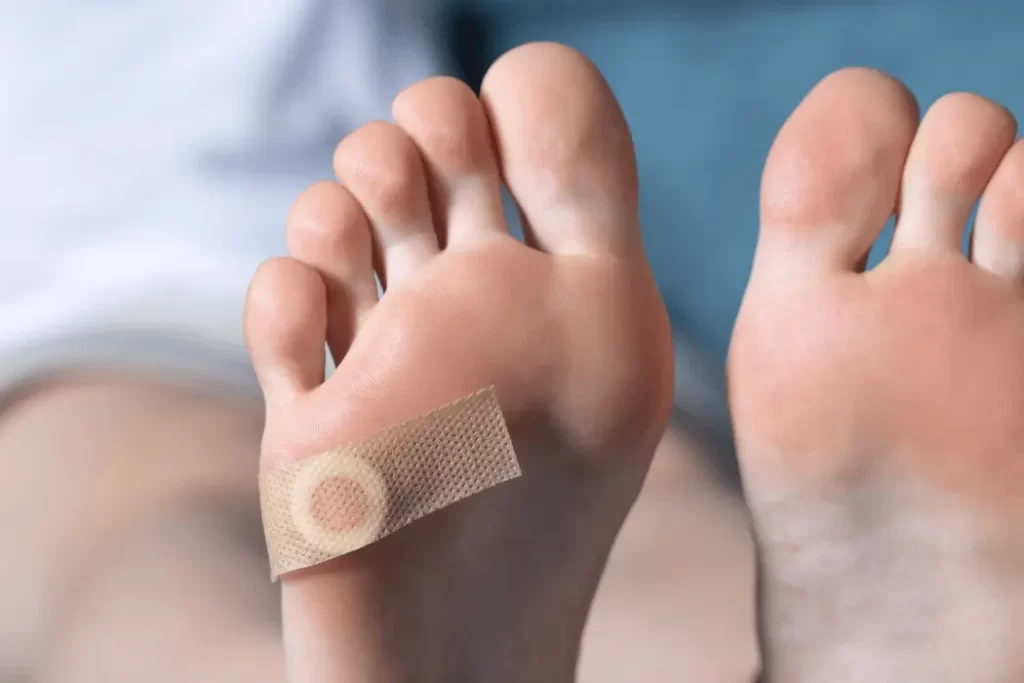
Are you tired of dealing with those stubborn, uncomfortable corns on your feet? Whether they’re causing discomfort in your favorite shoes or making each step a challenge, finding relief from corns is essential. In this comprehensive guide, we’ll explore effective and proven methods for corn removal step-by-step. From understanding the nature of corns to discovering practical strategies for their removal, this article is your go-to resource for achieving relief and saying goodbye to those bothersome foot nuisances.
Read more about detox foot pads.
Understanding Corns: What Are They?
Let’s start with the basics. Corns are these little patches of thickened skin that typically develop on the toes or the sides of your feet. They’re caused by repeated friction or pressure on the skin and can be incredibly uncomfortable, sometimes feeling like you’re walking on pebbles. Ouch!
Different Types of Corns
There are two main types of corns: hard corns and soft corns. Hard corns are small, concentrated areas of toughened skin, usually found on the tops or sides of your toes. On the other hand, soft corns are a bit mushier and form between the toes due to moisture and sweat.

Corn Removal Methods
Step 1: Soak and Soften
One of the initial steps in corn removal is to soak your feet. It’s like giving your feet a mini-spa treatment! Fill up a basin with warm, soapy water and let your feet relax for about 10-15 minutes. This helps soften the hardened skin of the corns, making them easier to manage.
Step 2: Exfoliate Gently
After soaking, grab a pumice stone or a foot file and gently exfoliate the affected area. Be careful not to overdo it; we’re aiming for gradual progress, not a sanding session! This step helps in reducing the thickness of the corn.
Don’t Forget to Moisturize
Once you’re done exfoliating, moisturize your feet with a good foot cream or lotion. Hydrated skin is less likely to form hard corns, so keep those tootsies happy and moisturized.
Step 3: Padding and Protection
While treating corns, it’s essential to reduce friction. Use padding, like moleskin or felt, to cushion the affected area and prevent further irritation. You can find these padding materials at your local pharmacy.
Step 4: Footwear Matters
Your choice of footwear plays a significant role in corn prevention. Opt for shoes that provide enough room for your toes and don’t squeeze them together. Also, avoid high heels if you can, as they can put extra pressure on your toes.
Time for Some Shoe Shopping!
Maybe it’s time to bid farewell to those uncomfortable shoes lurking in your closet! Go for shoes that are comfortable and fit well. Your feet will thank you for the change.
Step 5: Salicylic Acid Treatment
For stubborn corns, consider using over-the-counter treatments containing salicylic acid. These products help break down the thickened skin gradually. Remember to follow the instructions on the package carefully.
Step 6: Seeking Professional Help
Sometimes, despite our best efforts, corns persist. In such cases, it’s wise to seek advice from a podiatrist or foot specialist. They can offer advanced treatments, such as trimming the corn or prescribing stronger medications if needed.
Final Thoughts
Taking care of your feet is crucial, and with the step-by-step methods outlined in this guide, you’re well-equipped to tackle those pesky corns. Remember, patience is key when it comes to corn removal. By incorporating gentle exfoliation, proper moisturization, padding, and, if necessary, seeking professional advice, you’re on the right path to achieving relief. Embrace these methods, show your feet some TLC, and soon enough, you’ll be walking comfortably, free from the discomfort of corns. Here’s to happy and healthier feet!


